|
|
How To: Purchase SaaS App and Assign Add-in Licenses |

|
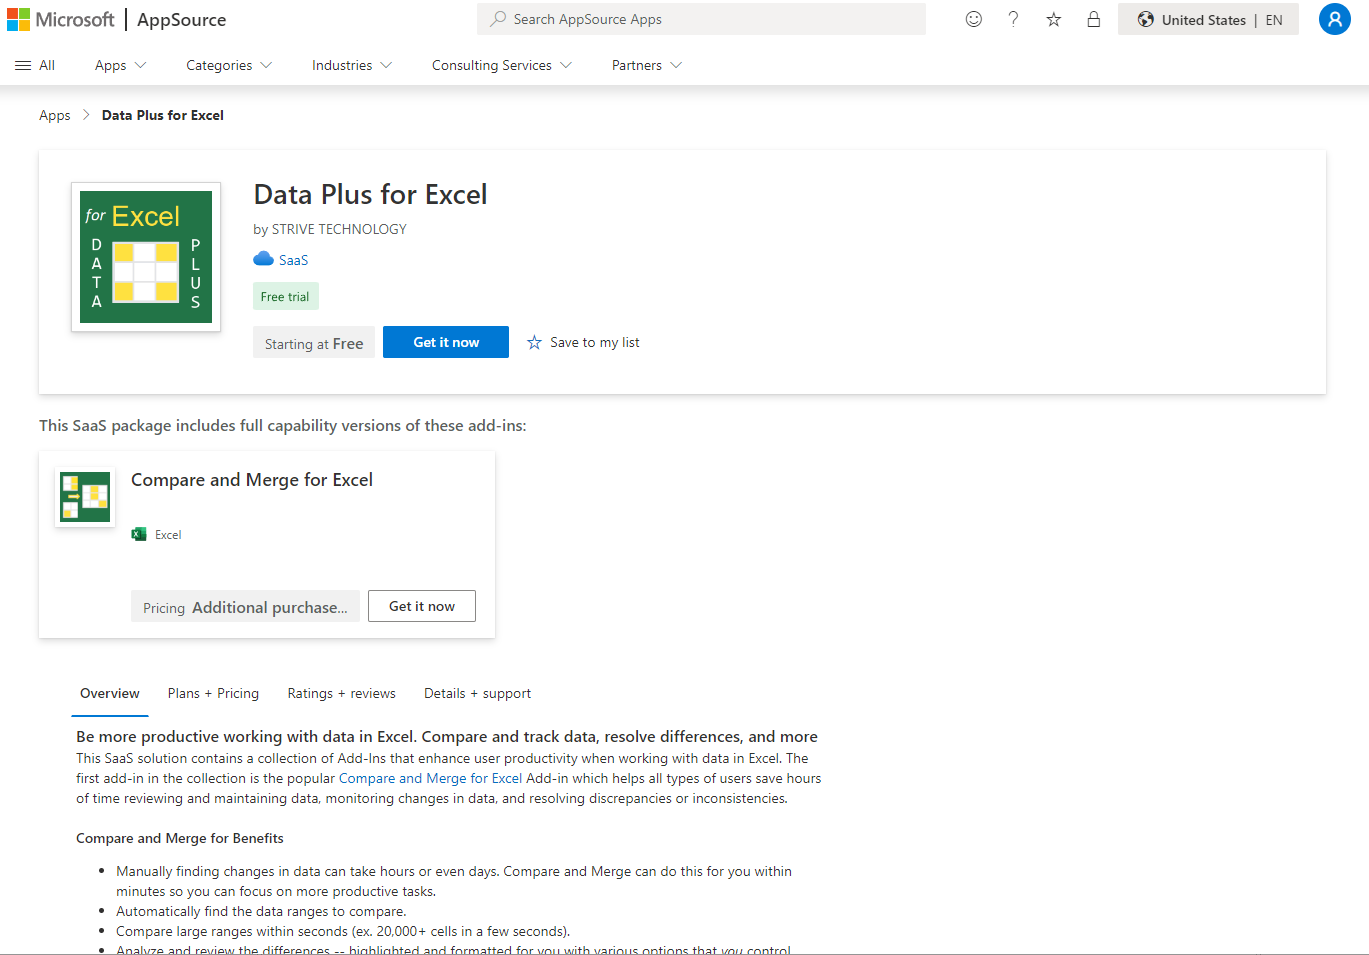
This page provides details on acquiring the Data Plus for Excel SaaS app and the containing add-ins, starting with Compare and Merge. (Additional add-ins are planned for inclusion in Data Plus for Excel in the future). It is a simple 5 step process once you know where and when each step occurs.
| Questions: excel.data.plus.saas@strivetech.com |
This summarizes the acquisition process and where each step occurs:
| Purchase SaaS 1 | Activate SaaS | Assign Licenses | Install Add-ins 2 | Use Add-ins | ||||
| AppSource | Strive SaaS Customer Site | Microsoft 365 Admin Licenses |
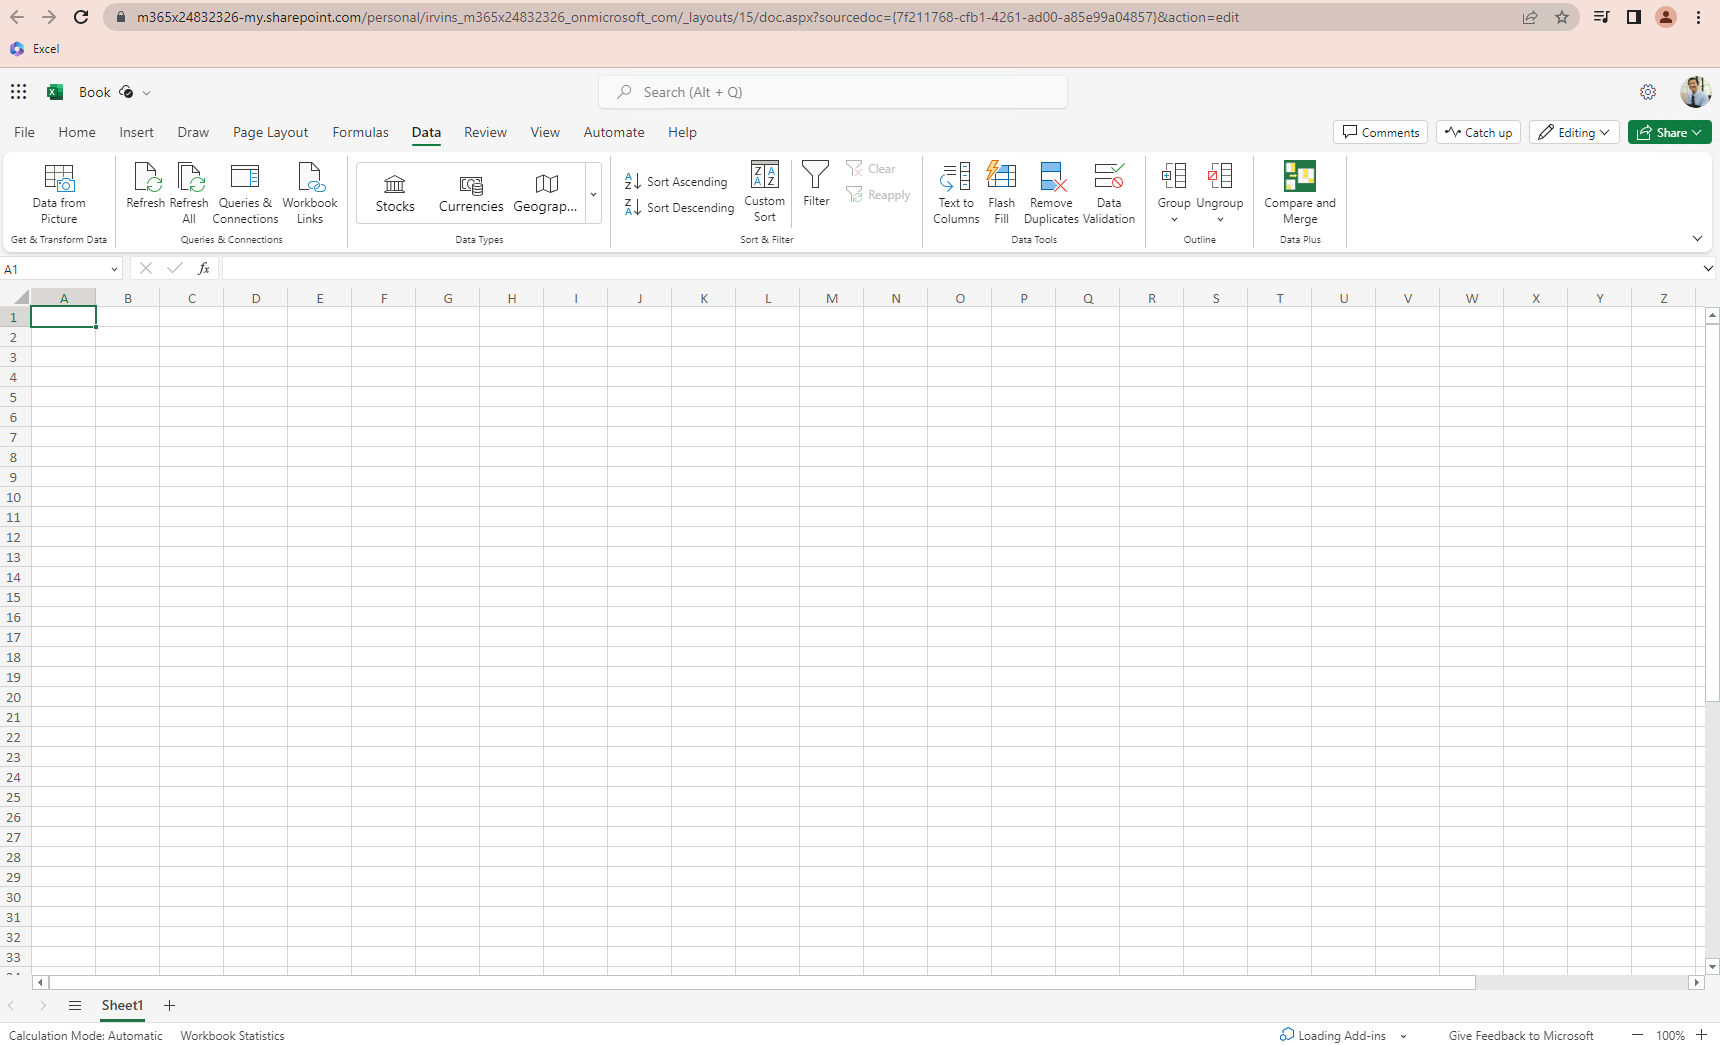
Excel App, Insert -> My Add-ins or
Microsoft Admin Integrated Apps |
Excel Client or Excel Online |
Data Plus for Excel SaaS is simply a container application for the Excel Add-in's created by Strive.
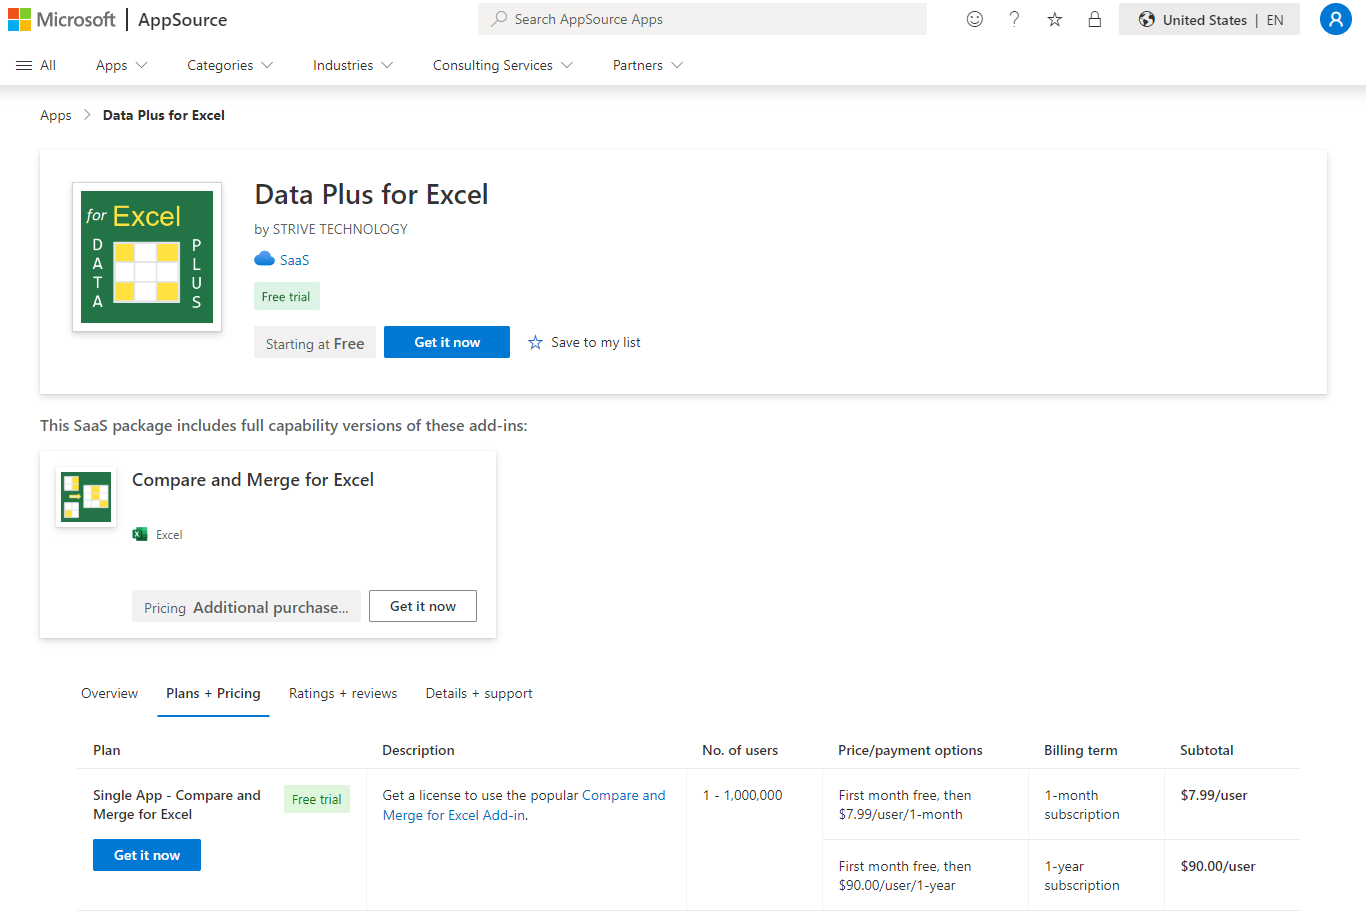
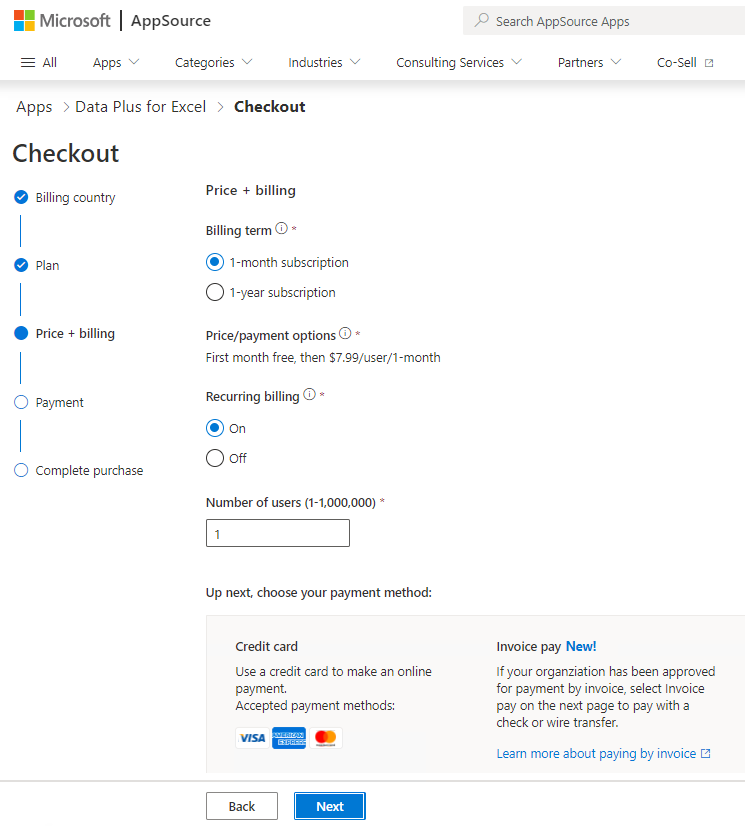
The SaaS application on AppSource contains subscription plans to the add-in's, available
for purchase using the  button.
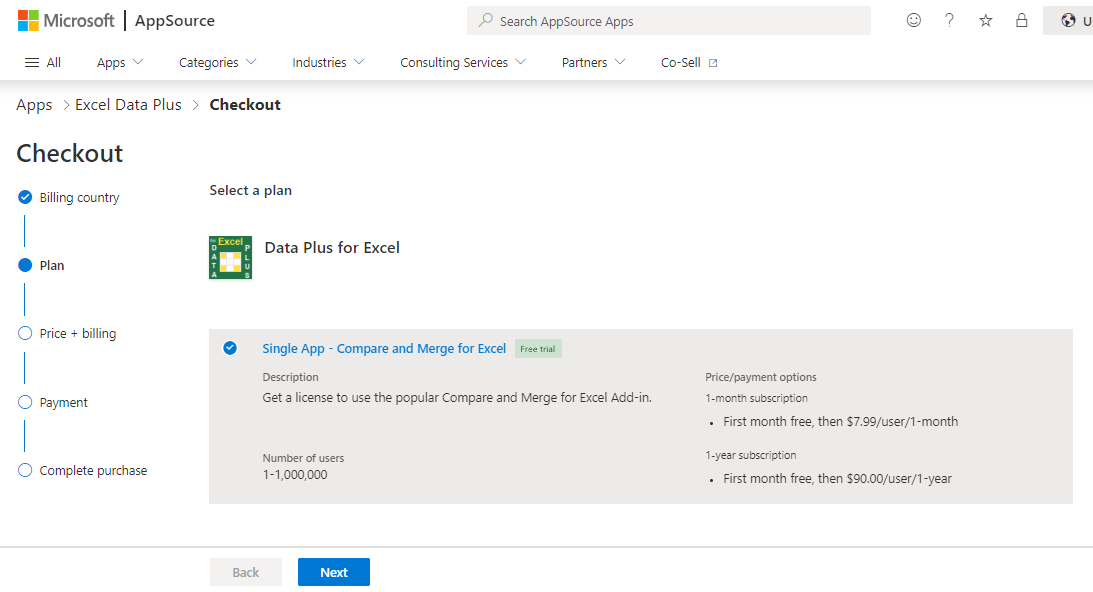
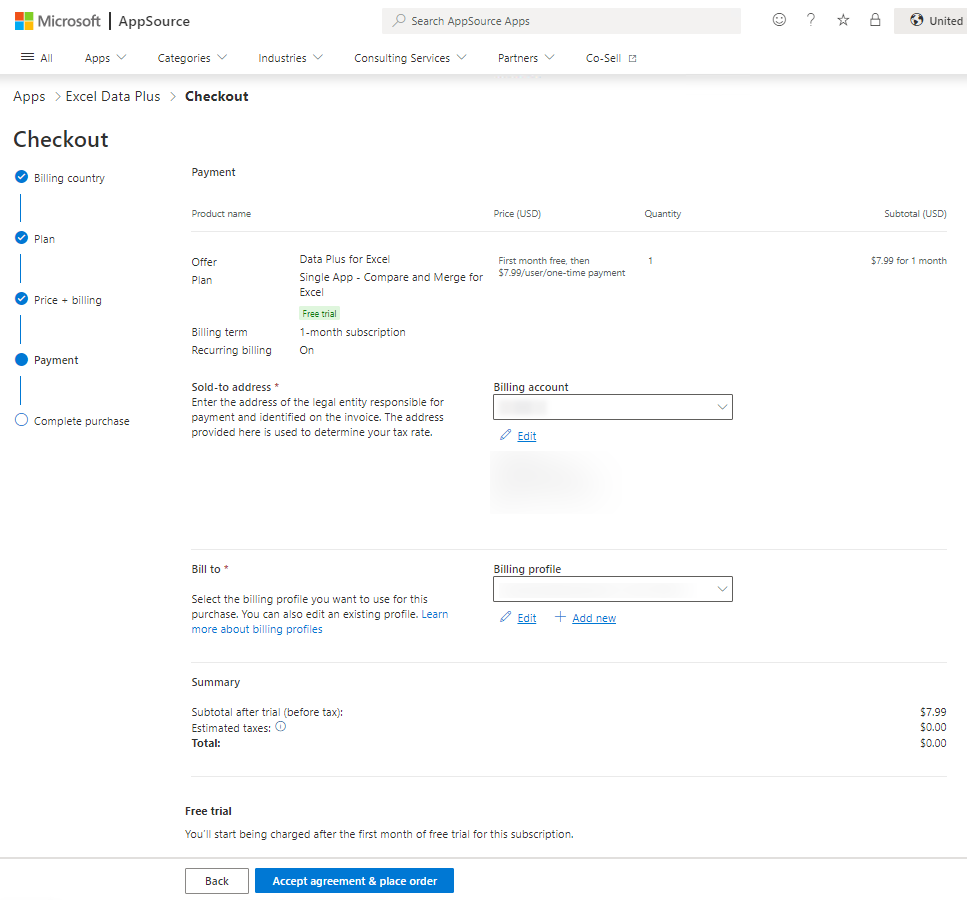
After selecting a plan and making payment, you will use the
button.
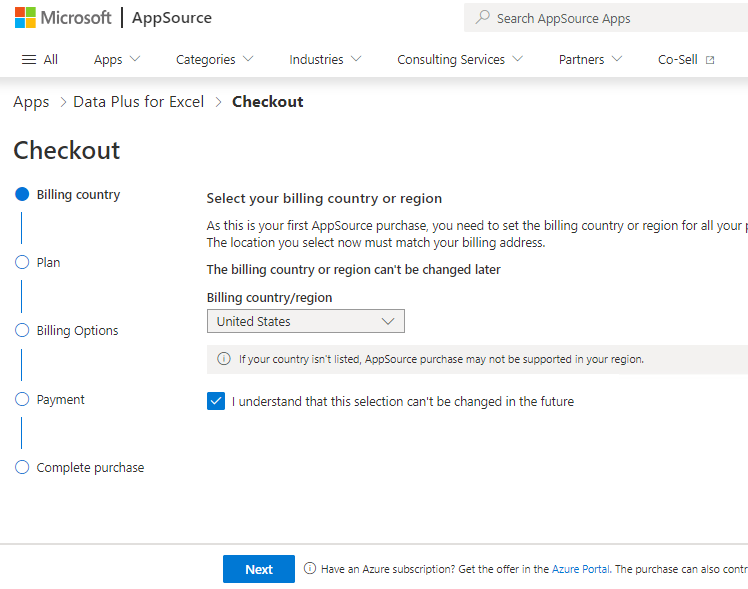
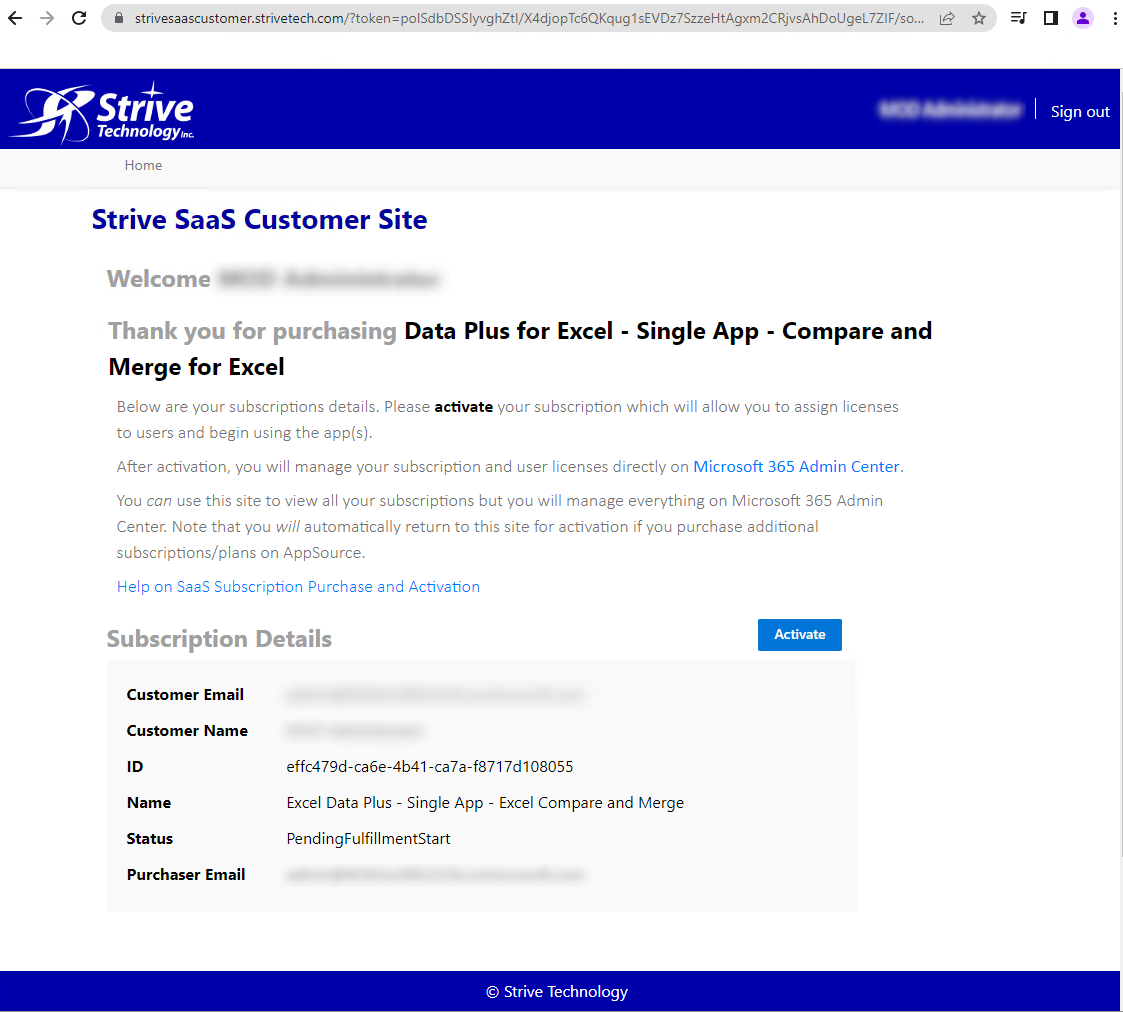
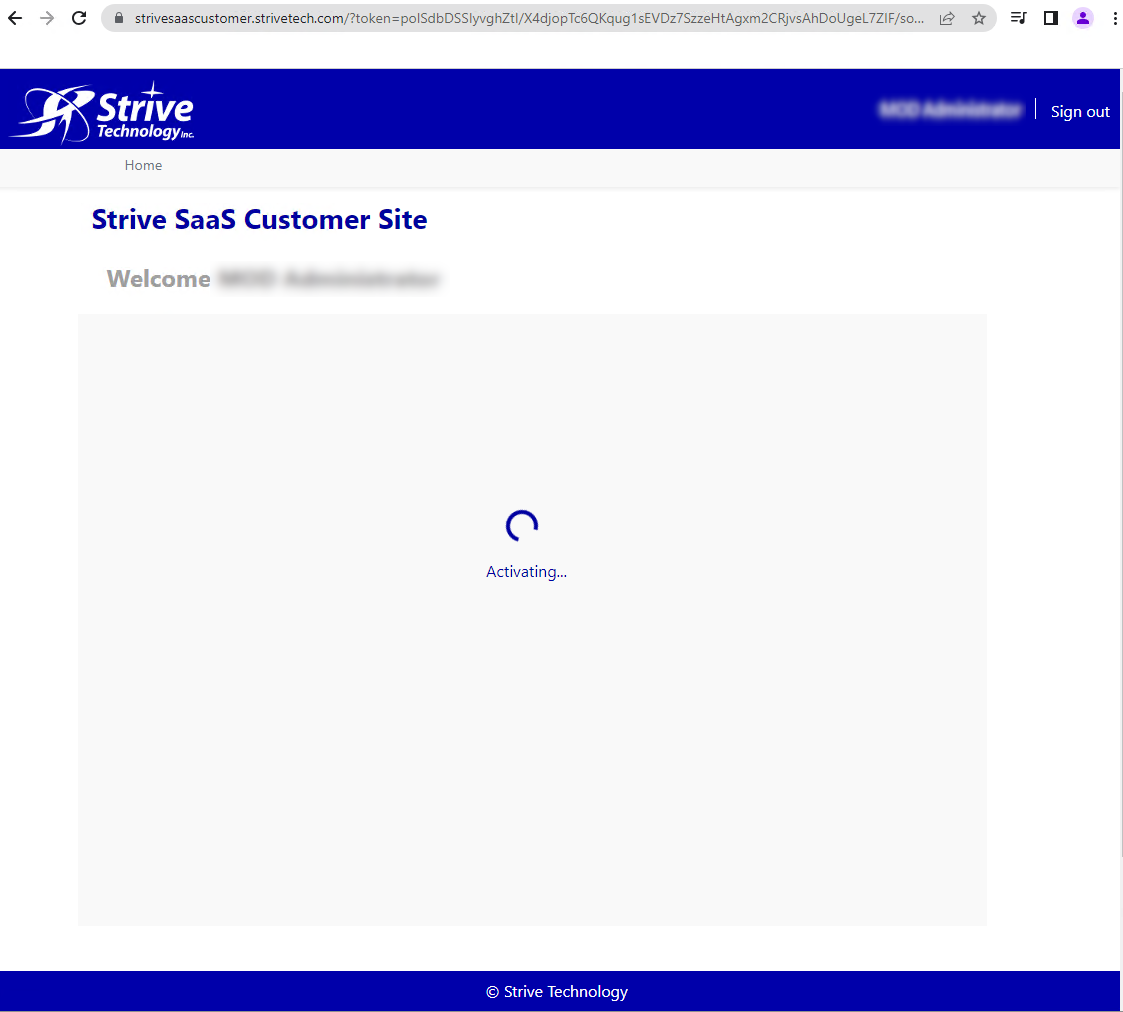
After selecting a plan and making payment, you will use the  button3 to activate your subscription on the Strive SaaS Customer Site.
Activating the subscription means that you are ready to assign licenses to users (and billing begins).
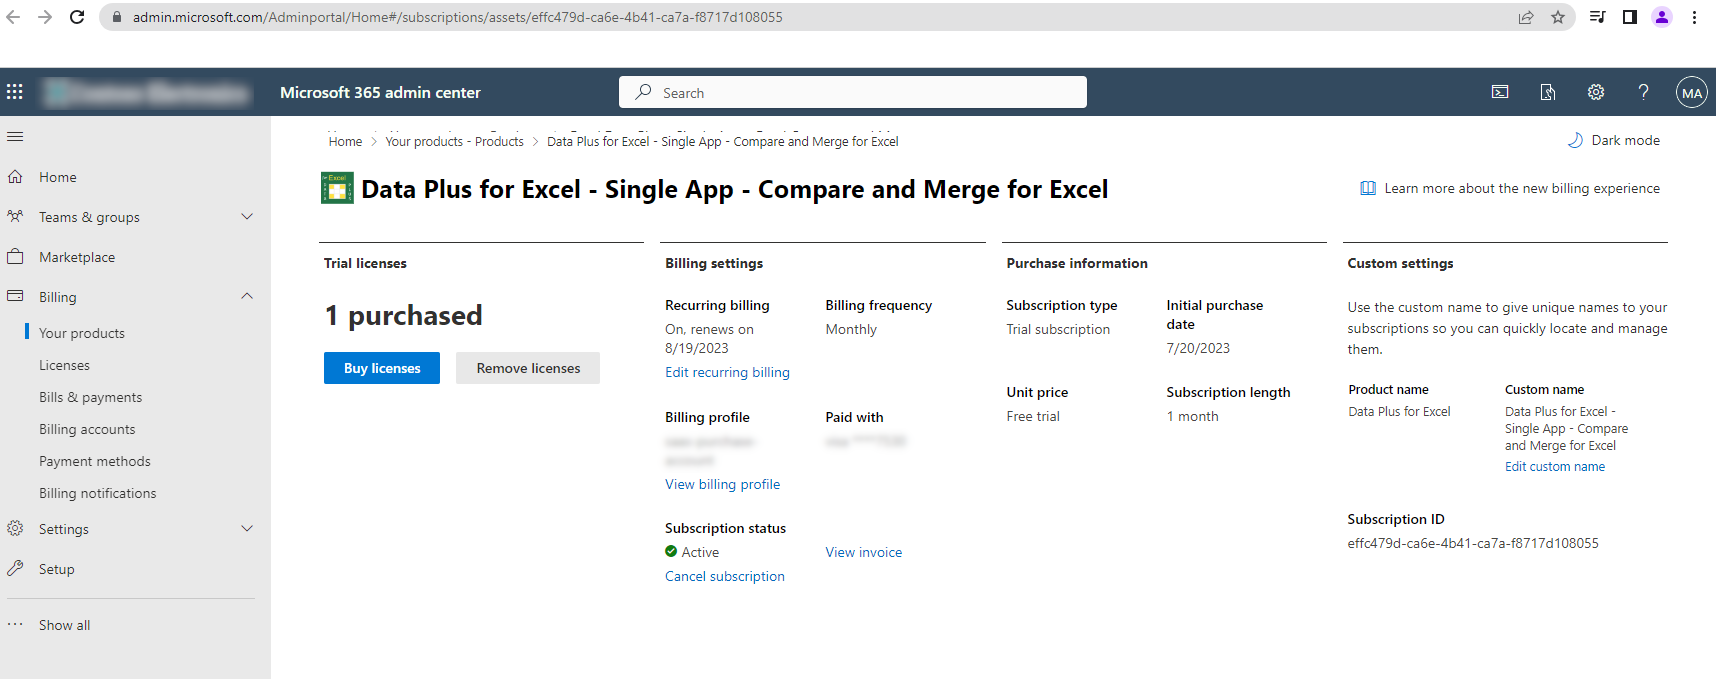
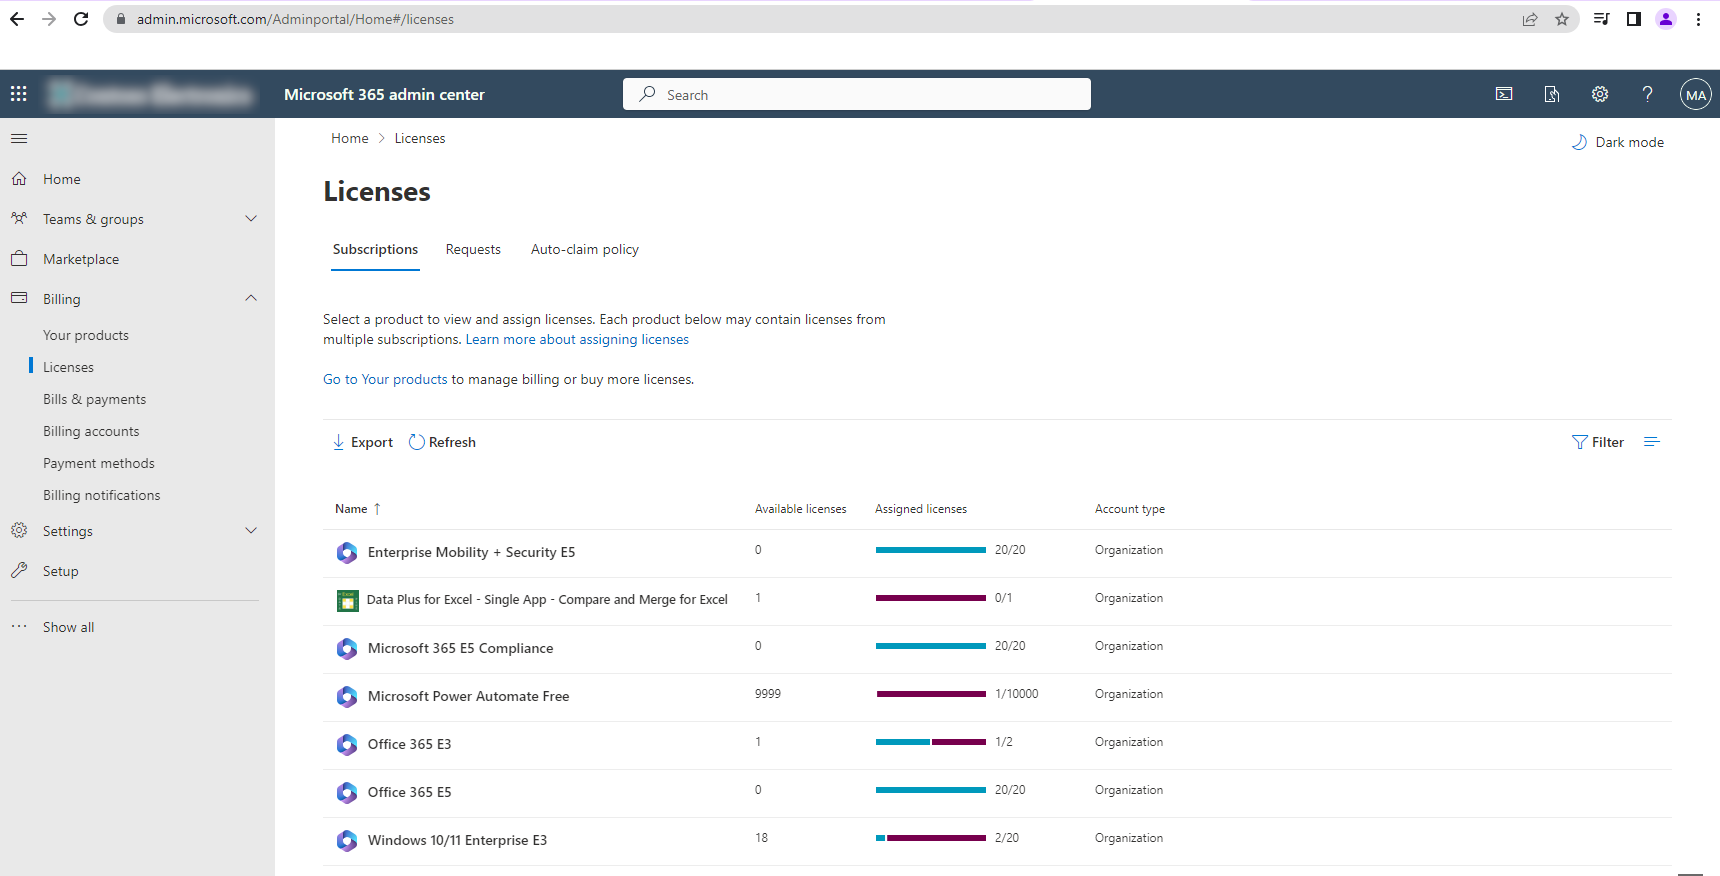
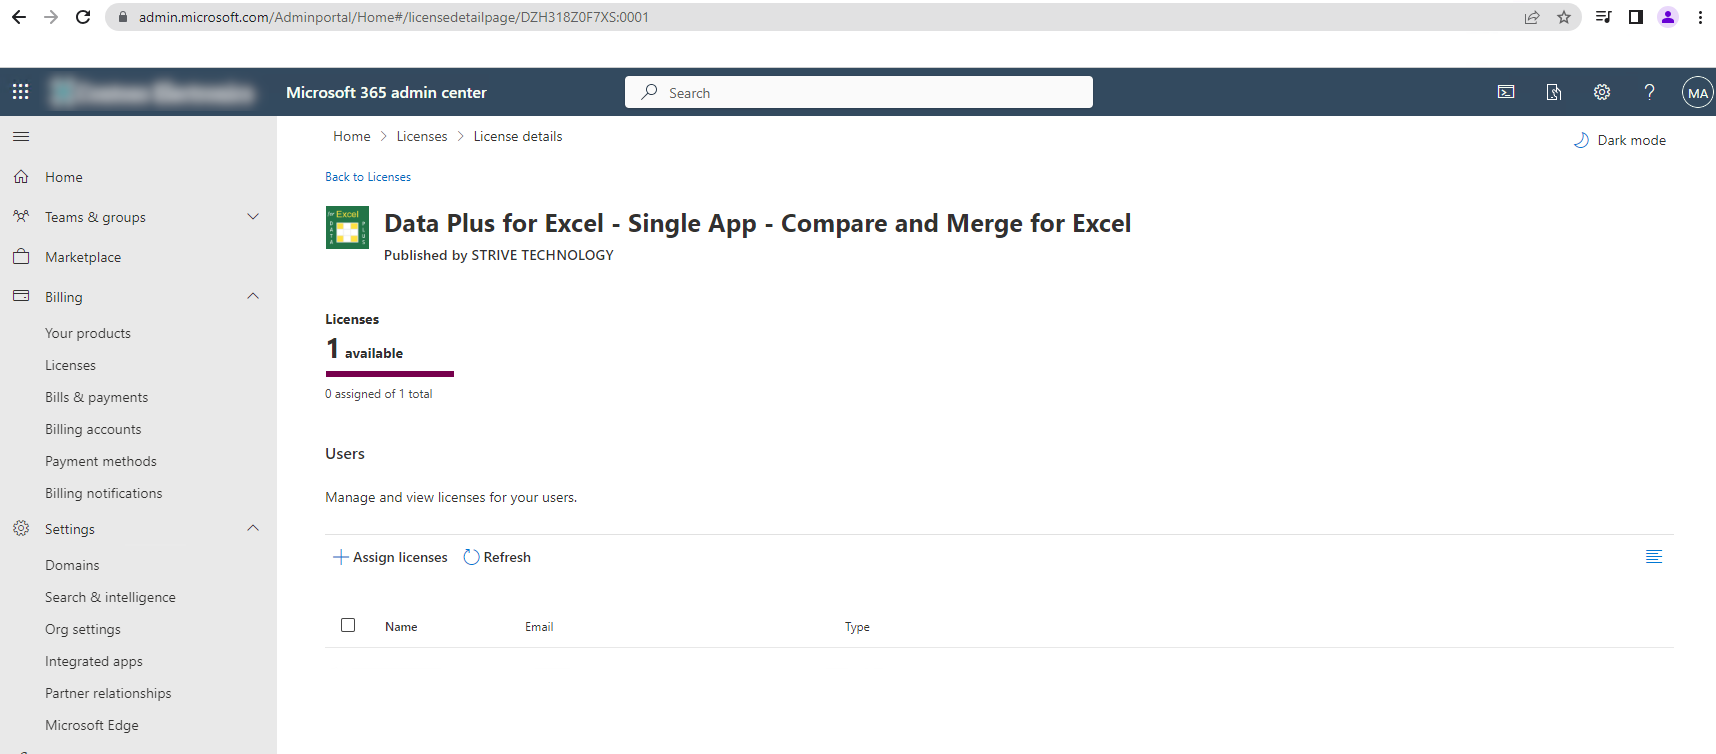
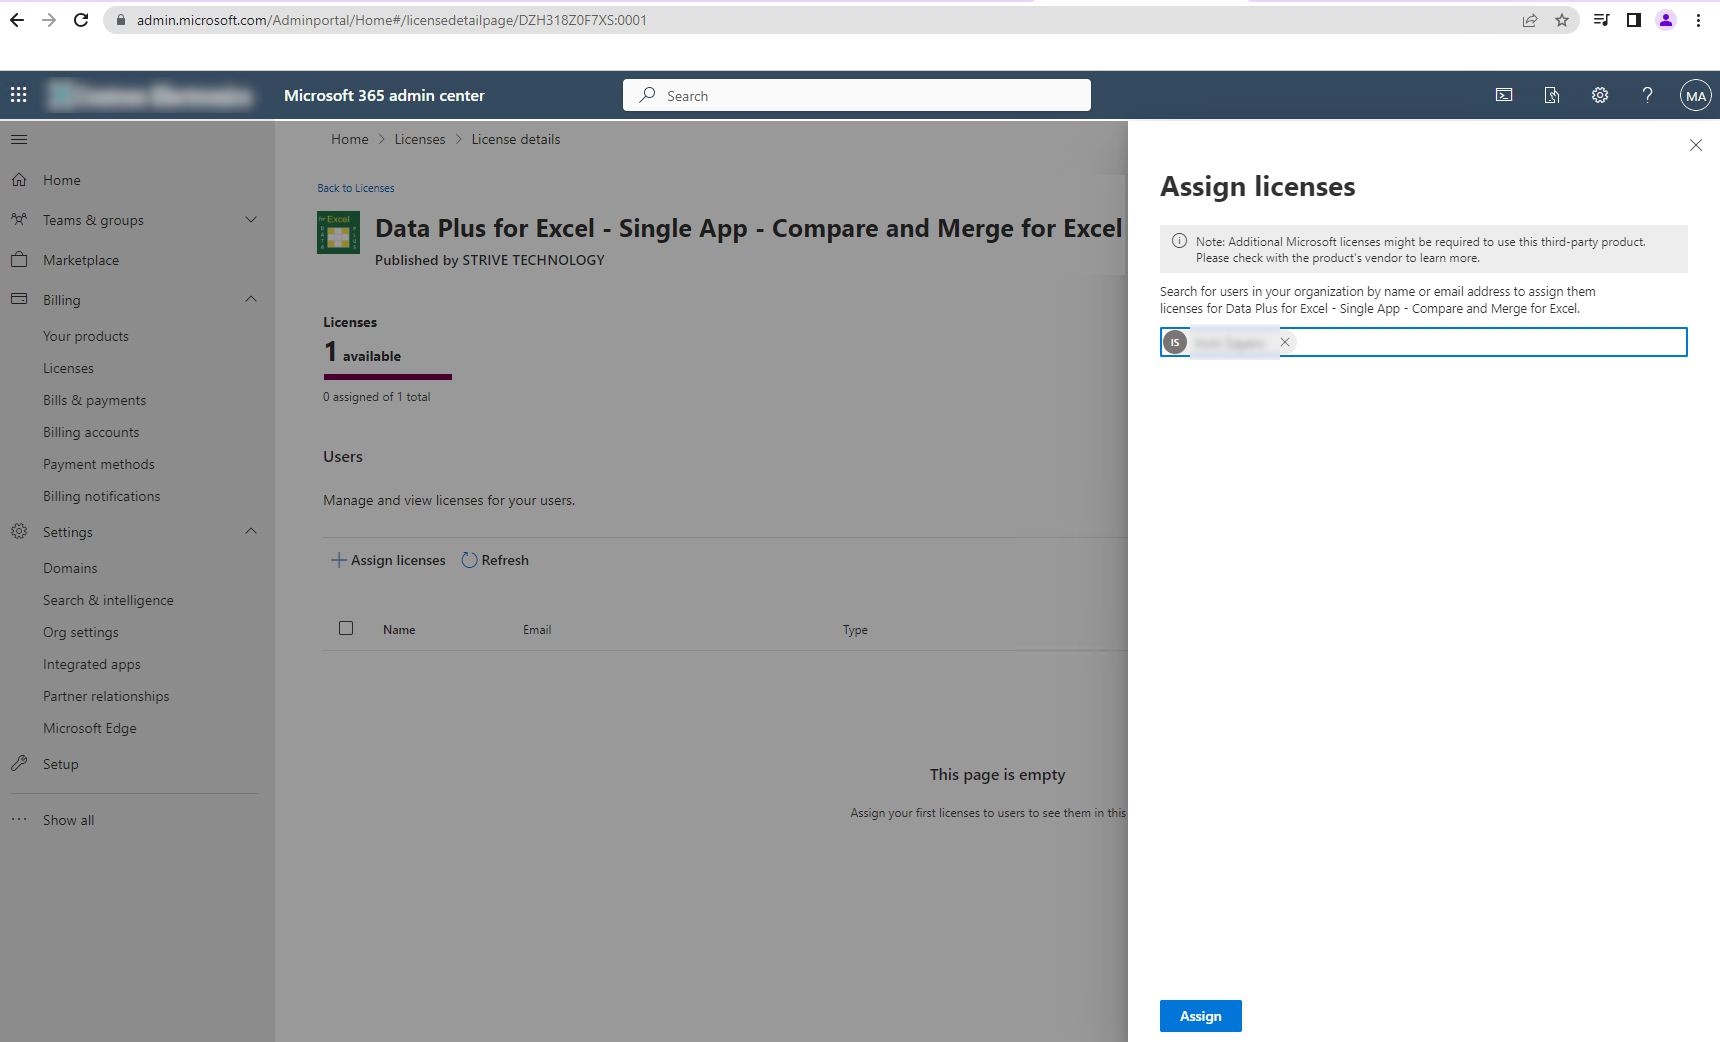
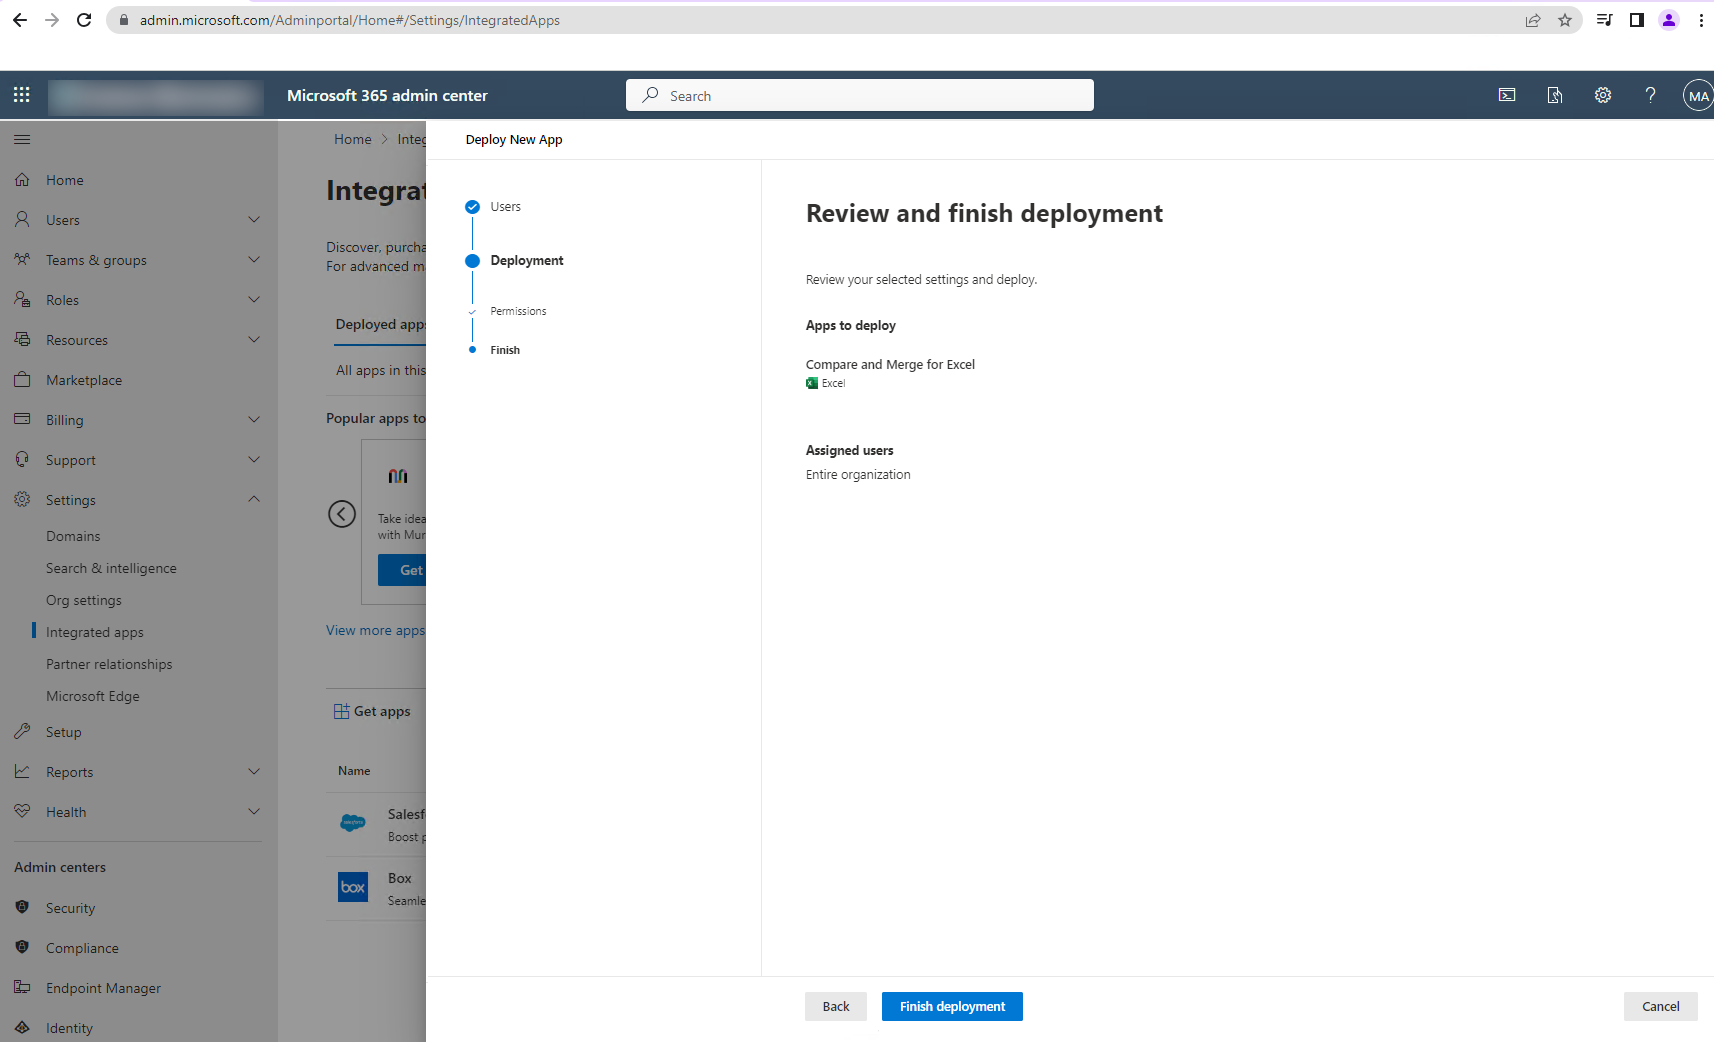
Finally, you4 will assign licenses on
the Microsoft 365 Admin Site and install the add-in to enable Microsoft 365 users (or yourself)
to use the add-in in Excel.
button3 to activate your subscription on the Strive SaaS Customer Site.
Activating the subscription means that you are ready to assign licenses to users (and billing begins).
Finally, you4 will assign licenses on
the Microsoft 365 Admin Site and install the add-in to enable Microsoft 365 users (or yourself)
to use the add-in in Excel.
1 SaaS stands for Software as a Service, a broad name that defines applications and services available from providers (e.g. Strive Technology) with subscriptions available for the services provided. Just think of Data Plus for Excel as an vehicle for obtaining user licenses for all the add-in's it contains (ex. Compare and Merge for Excel).
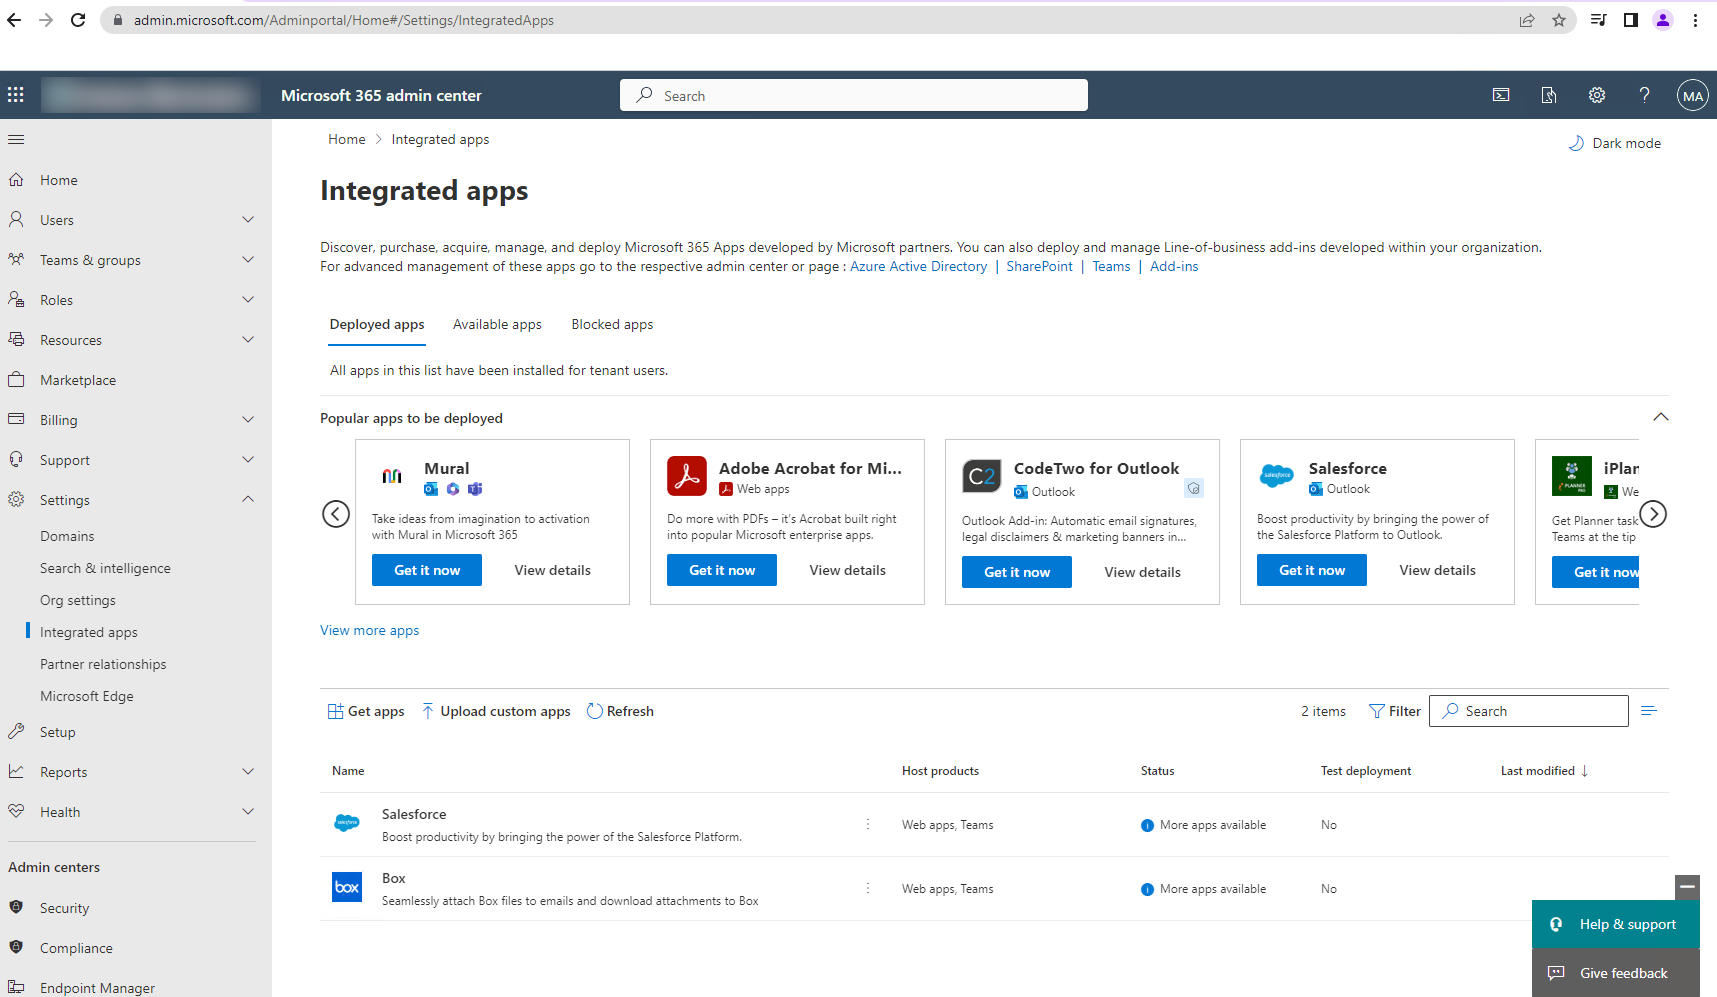
2 the add-ins can be installed at any point but note that the add-in's will check for a valid user license each time on startup, even during the Free Trial period of a SaaS subscription. Microsoft 365 Admins are encouraged to use the "Integrated Apps" feature of the Admin center to centrally deploy apps for users.
3
You can also activate the SaaS subscription from
Microsoft 365 Admin Center, using the
 near the top of the page or from the email you received with the subject "Configure your Data Plus for Excel SaaS account"
and clicking on the
near the top of the page or from the email you received with the subject "Configure your Data Plus for Excel SaaS account"
and clicking on the  button within the email.
4 Who is "you"? Anyone user with an organizational account, both admin and non-admin, users can purchase the SaaS application and assign licenses. The assign licenses and install add-ins experience can be slightly different in Microsoft 365 Admin center for admin and non-admin users.
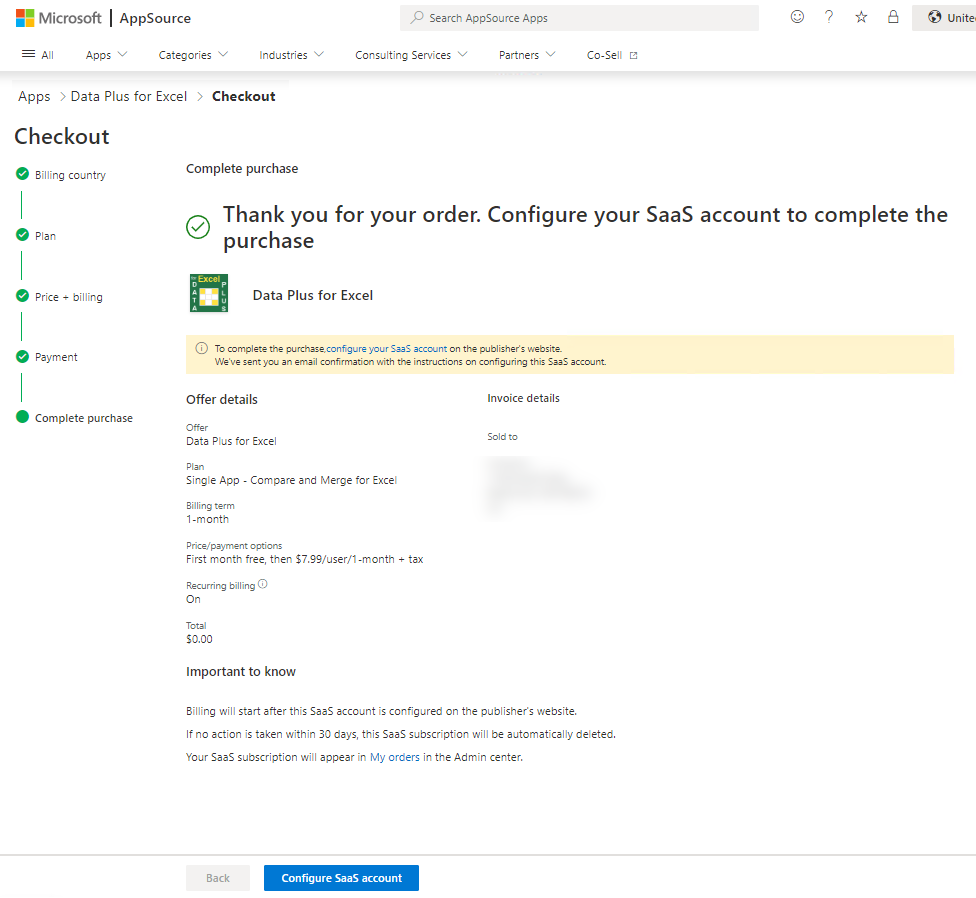
Clicking on "Configure SaaS account" above brings you to the Strive SaaS Customer Site for activation.

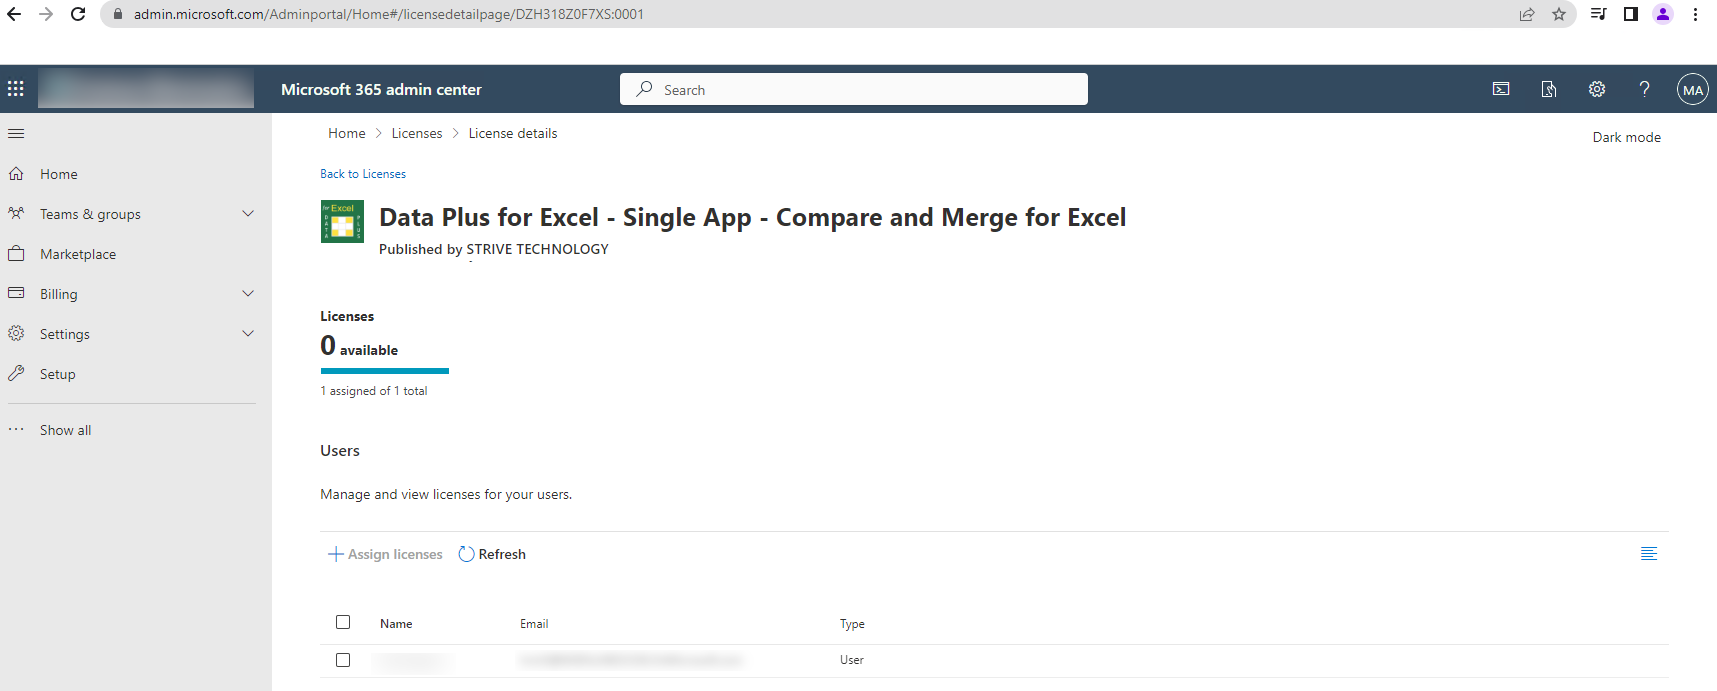
Clicking on "Microsoft 365 Admin Center" above brings you to the Microsoft 365 Admin Center where licenses can be managed.
NOTE: There may be a few minute delay before activation is complete and the Microsoft Admin Center will display a yellow banner near the top indicating for you to "Setup account" even though the activation/setup is in progress. In this case, after coming from the Strive SaaS Customer Site, it is best to just wait a few minutes for the activation to complete and the yellow banner will disappear.
Clicking on "View more apps" link opens next view to search App Source for Compare and Merge for Excel.
Search for Compare and Merge for Excel and click on "Get it now".

Microsoft 365 Admins can deploy add-ins for their entire organization, individual users, or groups.
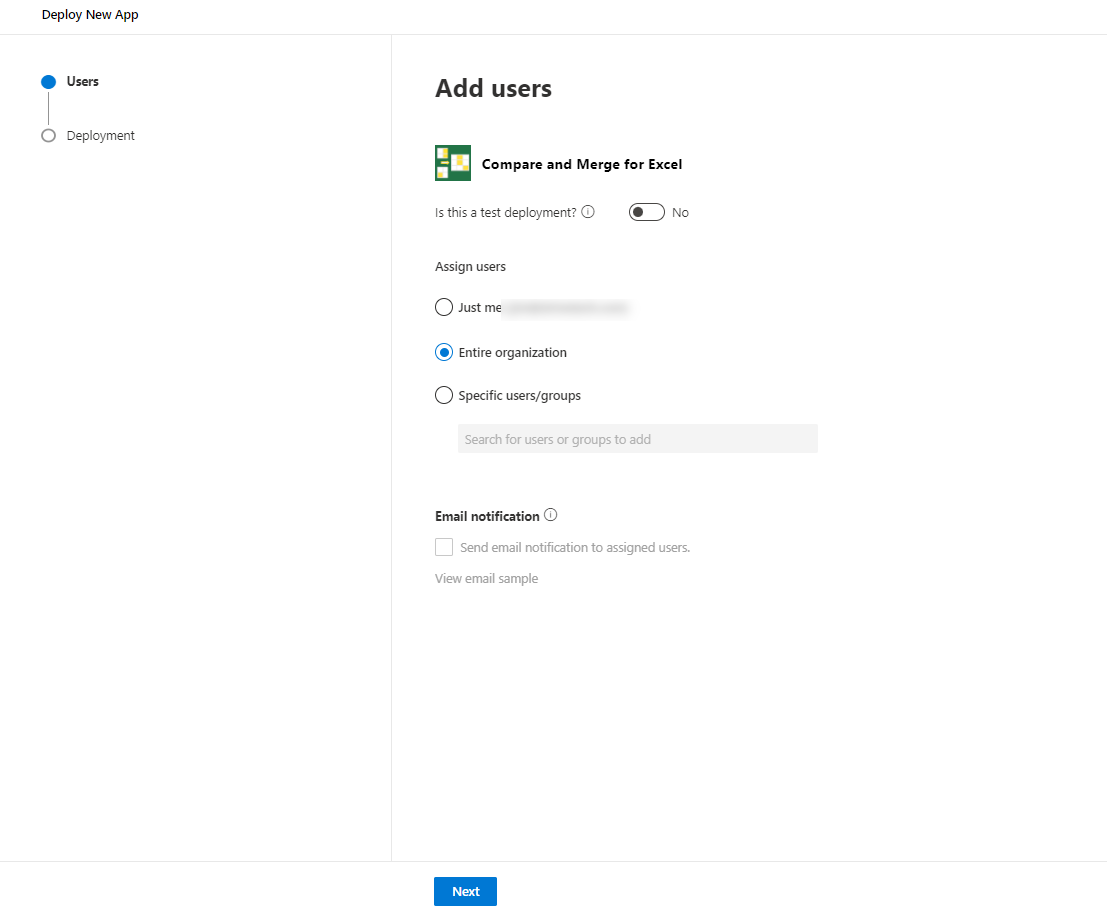
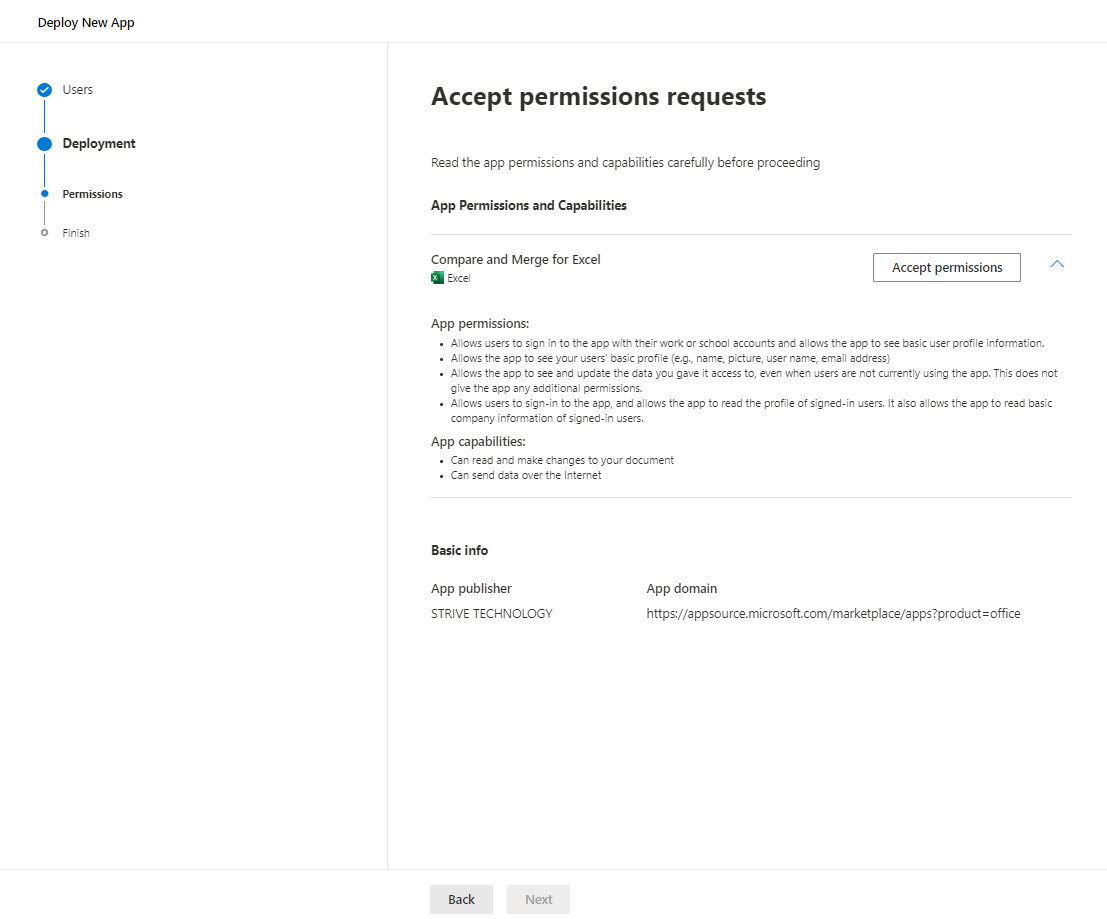
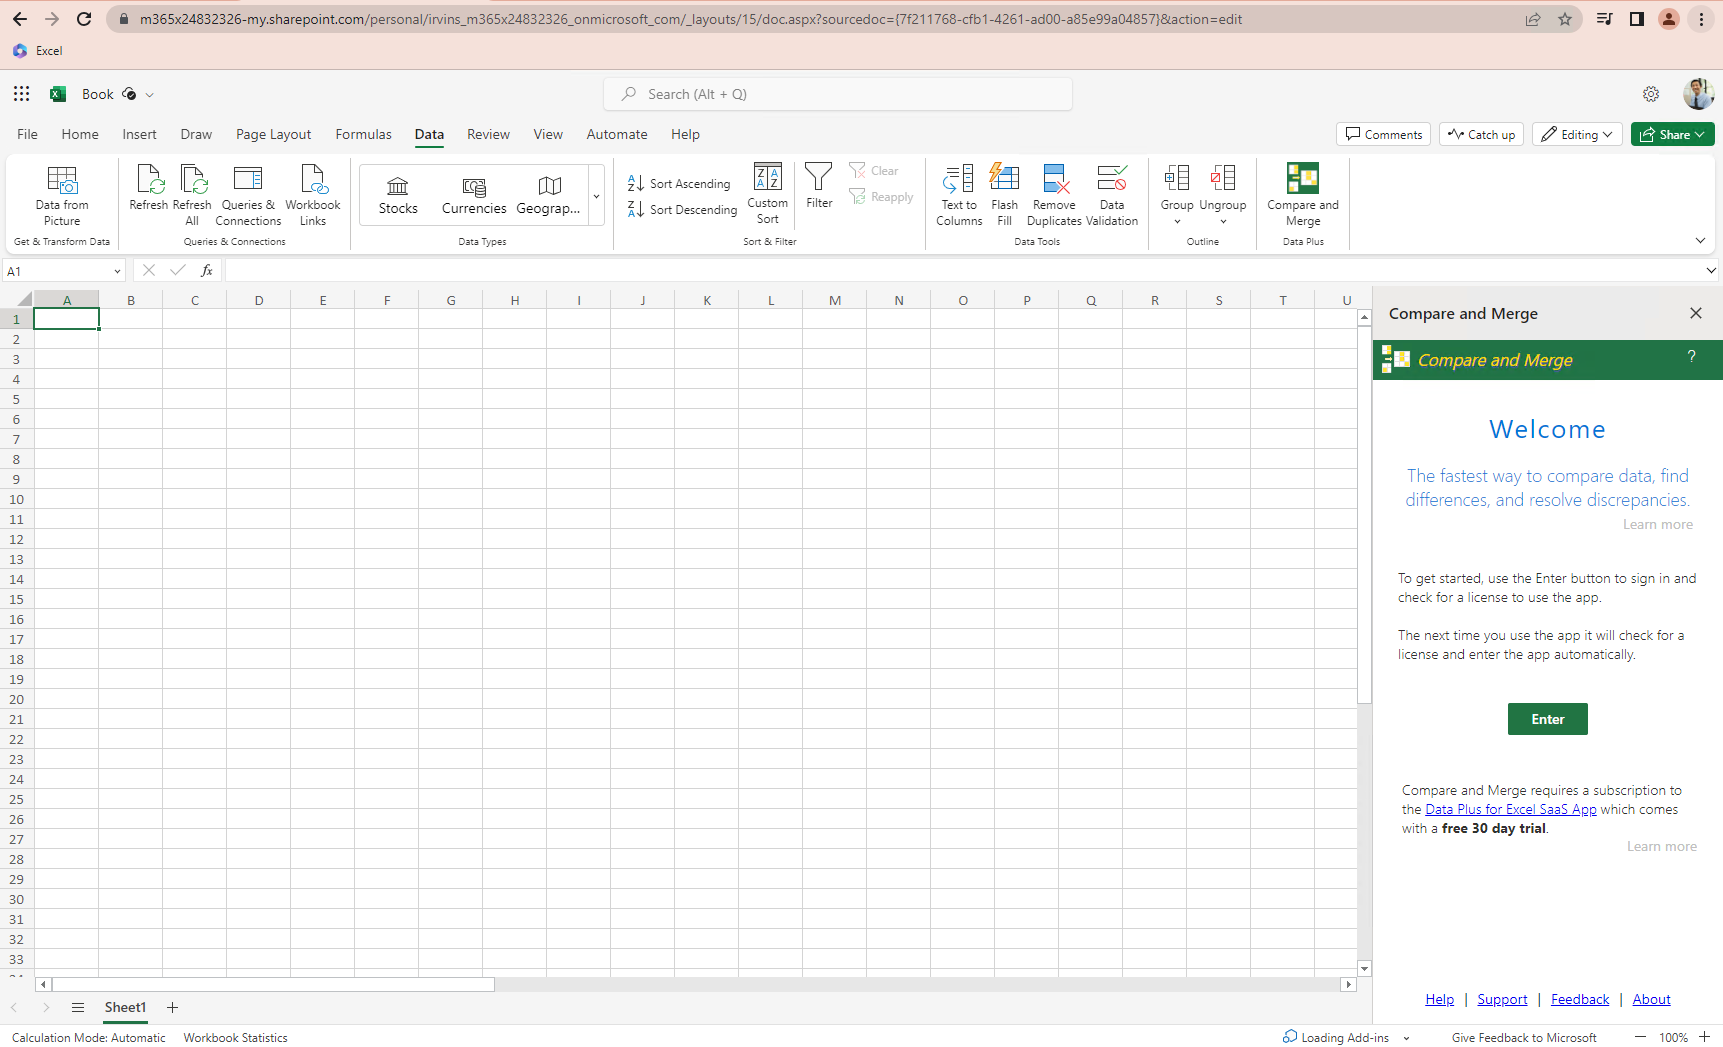
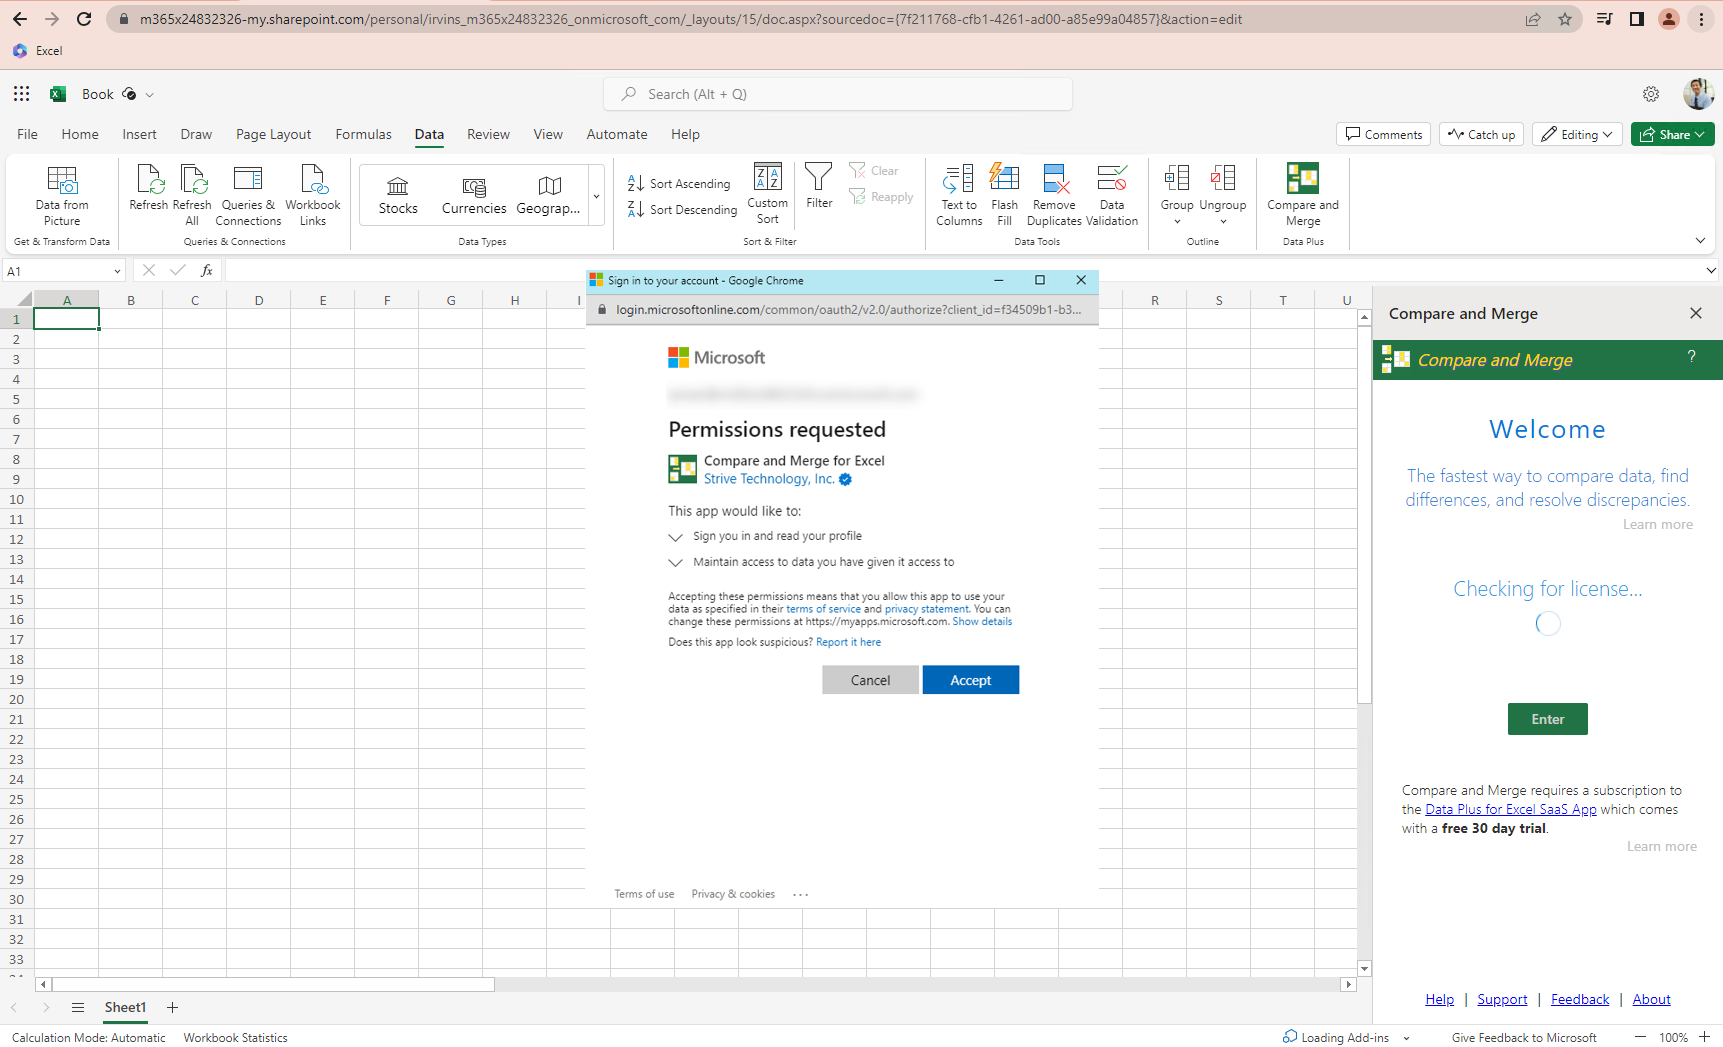
These permissions are required to check for a valid user license.
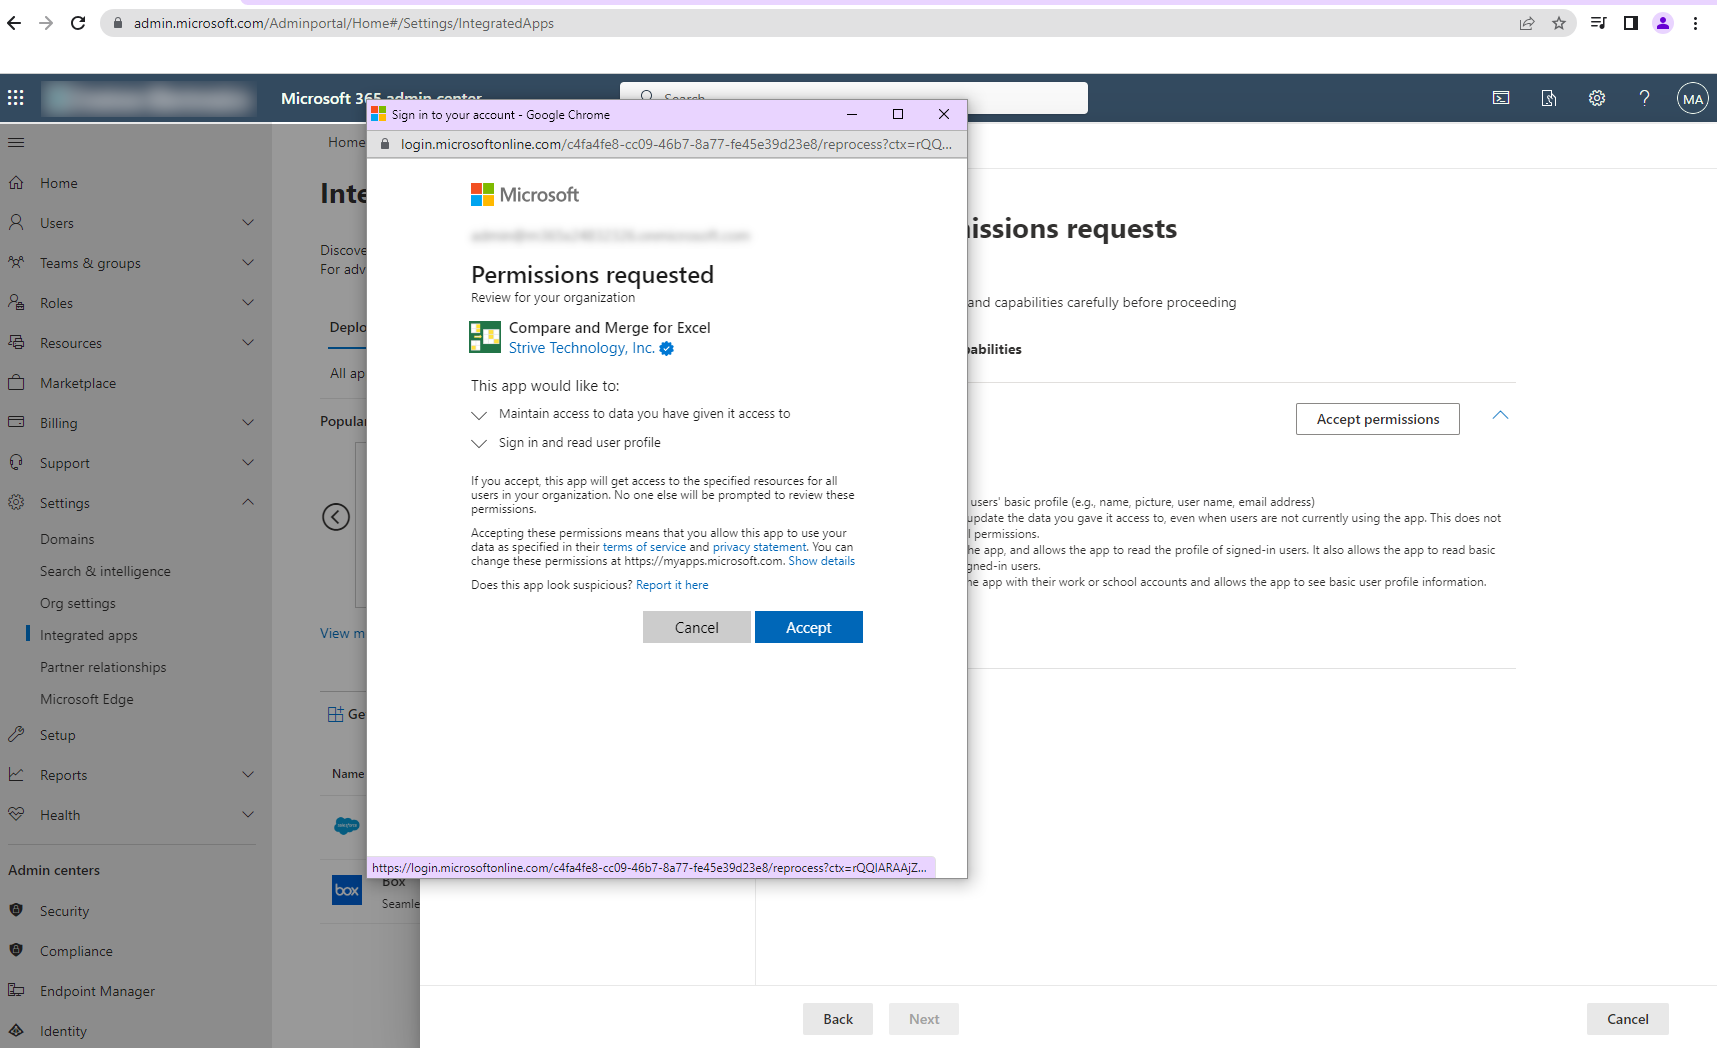

Click the "Enter" button to sign in and allow the app to check for a valid license.
NOTE: After initial sign, the app will automatically attempt to sign you in using the login information passed from Excel.
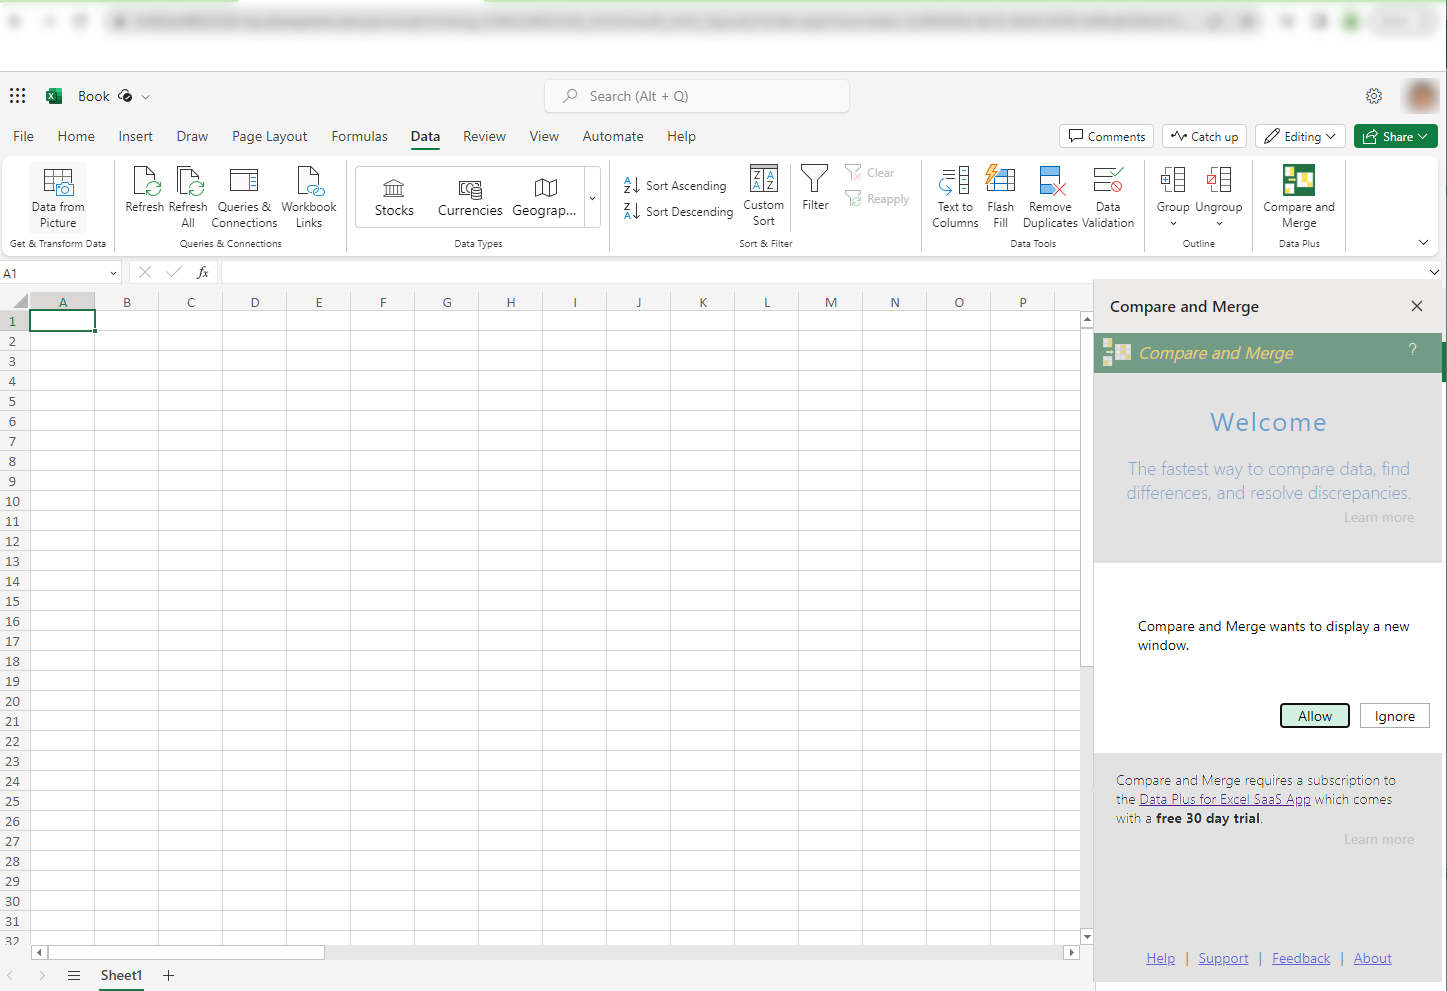
In Excel online, you must click "Allow" to enable the sign in window to appear. The Excel client application will immediately open the sign in window.
These permissions are required to check for a valid user license.
Follow us on our social networks for app updates and productivy tips.


